Hello everyone! So this article will be on how you can create your own Docker registry hub and push your own Docker images to it. So before we start, here are the prerequisites. They're obvious, but let's make sure.
Introduction to Docker
Posted on February 23, 2024111 views19 min read
Hey all! So I really wanted to make a video on this stuff, but it seems like every time I hit the record button, I'm always hitting the 25 minute mark. I don't think you guys want to sit there and listen to be ramble off for 25 minutes so I guess I'll just write up a blog article here.
So essentially I want to kind of demo somethings around Docker containers and what they really are. So Docker is pretty much I would say an industry standard technology at this point. So for my fellow developers and up coming developers, I would suggest you get your hands dirty with Docker if you can. It's a really fun tool to use.
What is Docker really? Docker is the technology in deploying what's called containers or Docker Containers. Containers are essentially kind of like VMs (Virtual Machines) and that it allows you to create a small little environment (you can think of this as a small little island) to work off of. Where containers differ from VMs is that for VMs, you can install Windows, macOS, and Linux on them. With containers, you can only install Linux based systems on it. This gives containers the upper hand because the system isn't slow in performance and allows you to run your application in a smaller and quicker environment compared to VMs. VMs require a lot of horse power whereas with containers, you don't need much simply because they run on the Linux system. There's other technical things that go into containers and VMs, but I don't want to talk about that here. This is more so to get your hands dirty with Docker containers.
So to install Docker you can actually download it off the Docker website depending on what operating system you're using. I suggest installing Docker Desktop through this link https://www.docker.com/products/docker-desktop/ if you're not a terminal user. For my Linux users, you can download Docker either through Snap or through this page https://docs.docker.com/desktop/install/linux-install/. It really depends on the flavor of Linux you're using.
So once you've got Docker installed, I would suggest creating a Dockerfile and running off of that rather than a blatant straight out docker run. This is so you can create your own custom image and then deploy your containers based off of your custom image. So images are basically everything you've packaged into the system. You can think of this as downloading a Windows ISO file, downloading a Ubuntu ISO file, or even a macOS DMG file. These "images" contain the system itself along with any necessary programs that it needs to run. That's essentially what Docker images are. Let's get started.
In this example we're just going to install nginx (equivalent to Apache, IIS, Tomcat, etc), a web engine and PHP to get our feet wet. We'll start off by creating the Dockerfile with the below code.
# Import from base image out there on the Docker hub
FROM nginx:1.25.2

# Change to the root user
USER root

# Run these commands
	# Update the system
	# Install lsb-release, apt-transport-https, ca-certificates, wget, sudo, htop, openssh-server, vim, and net-tools
	# Downloads the gpg keys for PHP on the Debian system
	# Update the system
	# Install PHP 8.3 and various other PHP extensions
	# Download composer and move composer to the /usr/local/bin folder

RUN apt-get -y update ; apt-get -y install software-properties-common lsb-release apt-transport-https ca-certificates wget sudo htop openssh-server vim net-tools zip git ; wget -O /etc/apt/trusted.gpg.d/php.gpg https://packages.sury.org/php/apt.gpg ; echo "deb https://packages.sury.org/php/ $(lsb_release -sc) main" | tee /etc/apt/sources.list.d/php.list ; apt-get -y update ; apt-get -y install php8.3-fpm php8.3-mysql php8.3-pgsql php8.3-curl php8.3-mbstring php8.3-xml php8.3-zip php8.3-gd php8.3-ldap ; cd ~/ ; php -r "copy('https://getcomposer.org/installer', 'composer-setup.php');" ; php composer-setup.php ; php -r "unlink('composer-setup.php');" ; sudo mv composer.phar /usr/local/bin/composer

# Creates the base /var/www/html folder
RUN mkdir /var/www ; mkdir /var/www/html

# Copies the nginx index.html file into the /var/www/html/ folder and rename the index.html file to index.php
RUN cp /usr/share/nginx/html/index.html /var/www/html/index.php

# Recursively deletes the /usr/share/nginx/html folder since we no longer need this as we are moving everything from this temp location to the /var/www/html/ location
RUN rm -rf /usr/share/nginx/html
Next, we create our own custom HTML folder which actually is the preferred location since this is where majority of nginx and Apache installations would install under. We then copy the index file to the newly created HTML folder and name it index.php. Lastly we recursively delete the old HTML location.
Once you have that Dockerfile created, all you really need to do is run the docker build command like so
docker build -t com.localhost:1.0 .
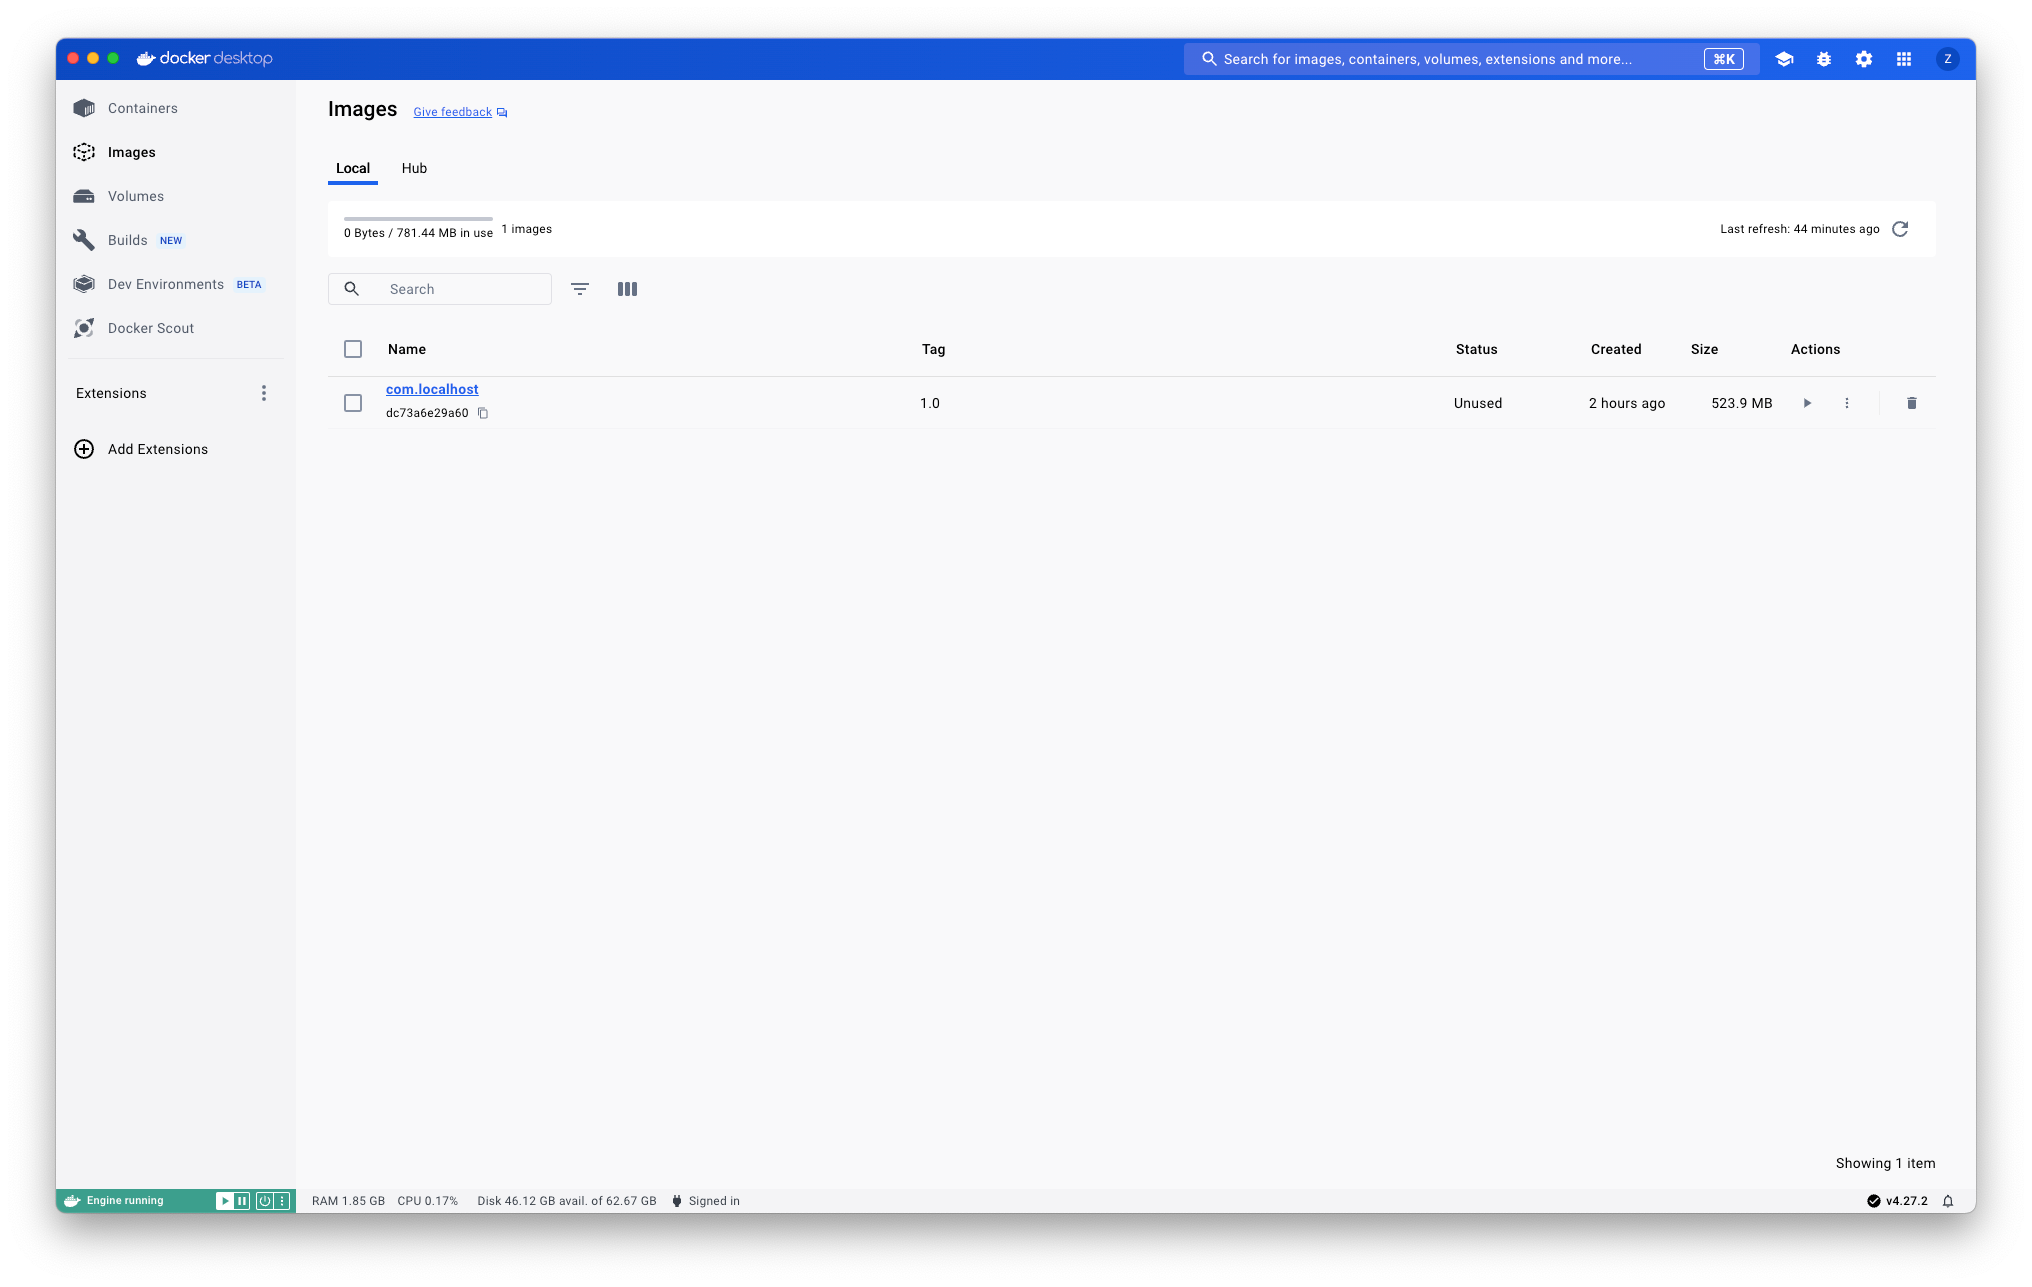
Once you run that build command, you should be able to see the image created in your Docker Desktop like so.
 Once the image is created, you can actually create the container multiple ways. 1 way is to do it through the Docker Desktop UI by hitting the play icon when you're viewing image. This will bring up a popup window which allows you to name the container as well as attaching a port to the container's port 80. I suggest using port 8080 to map to the container's port 80. You don't really need much after that since you're not going to attach a volume to the container or use environment variables just yet. I will give other examples on how to create the container after explaining what needs to be done when the container is created.
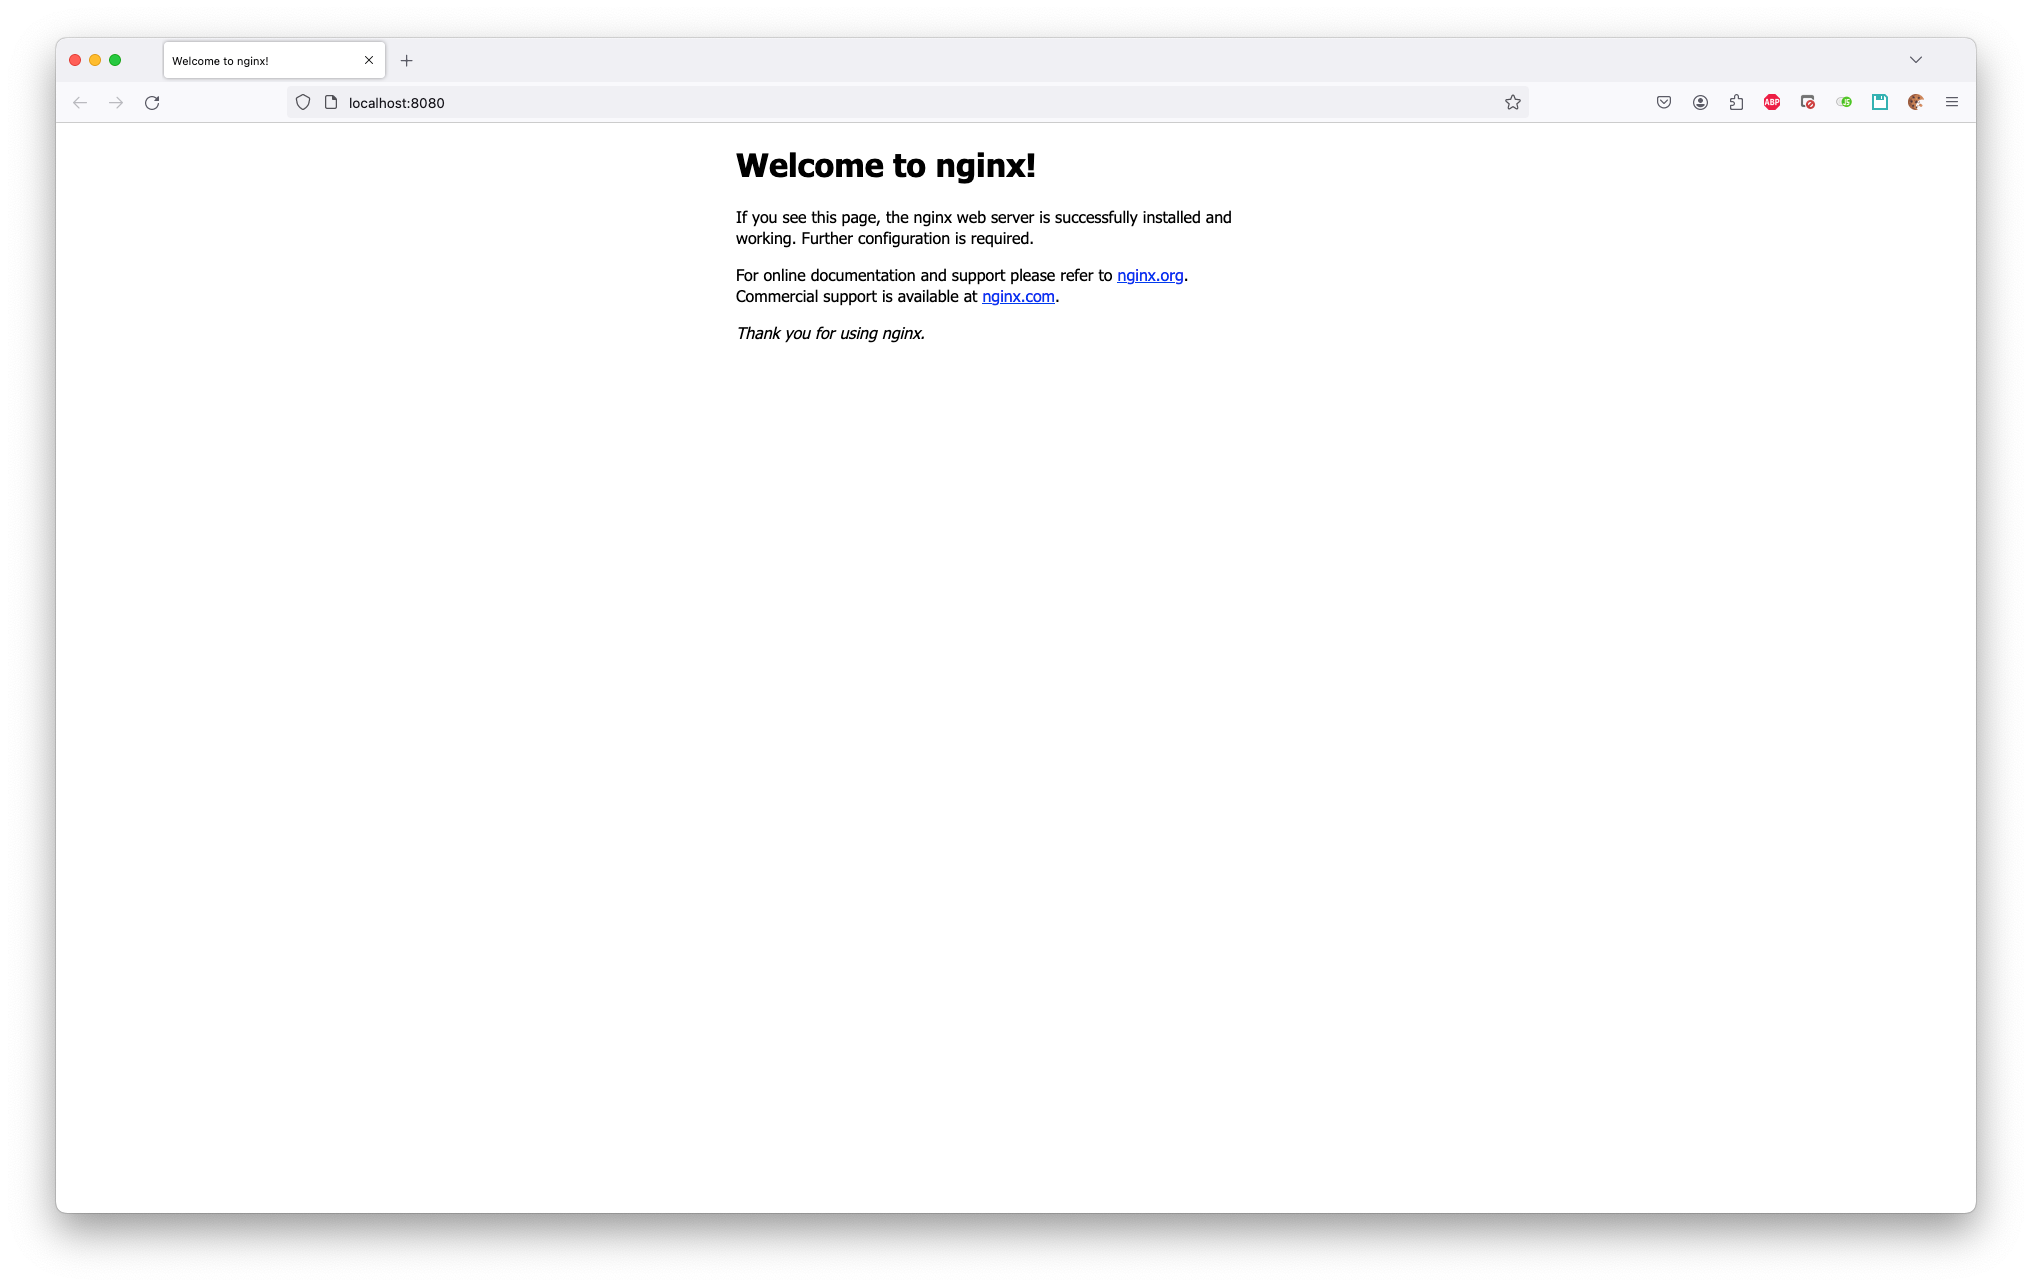
Once the container is created, we will actually need to modify the default.conf file in the nginx folder IN the container itself since we had just deleted the old location. Below will be the new default.conf configurations.
server {
	listen *:80;

	client_max_body_size 100M;

	server_name localhost;
	set $base /var/www/html;
	root $base;
	server_tokens off;

	index index.php index.html;

	location ~* ^/css/$ {}
	location ~* ^/js/$ {}

	location ~* \.(css|js|eot|ttf|woff|woff2|jpg|jpeg|png|gif|svg|wav|wmv|webm|mp3|mp4|ico)$ {
		add_header Access-Control-Allow-Origin *;
	}

	location / {
		if ($request_method = OPTIONS) {
			add_header Access-Control-Allow-Origin '*';
			add_header Access-Control-Allow-Methods 'GET, POST, PUT, DELETE, OPTIONS';
			add_header Access-Control-Allow-Headers 'Origin, Content-Type, Accept, Authorization';
			add_header Content-Type text/plain;
			add_header Content-Length 0;
			return 204;
		}

		add_header Access-Control-Allow-Origin '*';
		add_header Access-Control-Allow-Methods 'GET, POST, PUT, DELETE, OPTIONS';
		add_header Access-Control-Allow-Headers 'Origin, Content-Type, Accept, Authorization';

		root   $base;
		index index.php
		try_files $uri $uri/ /index.php?url=$args;
		rewrite ^/(.*)$ /index.php?url=$1 last; # This line is required since it's basically just like Apache's mod_rewrite rules
	}

	location ~ \.php$ {
		try_files $uri =404;
		fastcgi_pass unix:/var/run/php/php8.3-fpm.sock;
		fastcgi_buffers 16 16k;
		fastcgi_buffer_size 32k;
		fastcgi_read_timeout 180;
		fastcgi_index index.php;
		fastcgi_param SCRIPT_FILENAME $document_root$fastcgi_script_name;
		include /etc/nginx/fastcgi_params;
	}

	access_log   /var/log/nginx/localhost_access.log;
	error_log    /var/log/nginx/localhost_error.log error;
}
docker exec -it {CONTAINER_ID_OR_CONTAINER_NAME} /bin/bash
Once you get that all done, you'll also want to modify the PHP-FPM file so browse to /etc/php/8.3/fpm/pool.d and edit the www.conf file.
The only lines you need to update is
listen = /run/php/php8.3-fpm.sock
listen = /var/run/php/php8.3-fpm.sock
listen.owner = www-data
listen.group = www-data
listen.owner = nginx
listen.group = nginx
Once you are done editing the www.conf file, you'll actually want to restart the container. For folks using the Docker Desktop, you can just click on the Restart button to restart the container. For folks using the terminal, you can actually run the command below to restart your container.
docker restart {CONTAINER_ID_OR_CONTAINER_NAME}
service php8.3-fpm start
chmod +x /docker-entrypoint.d/startup.sh

Optional
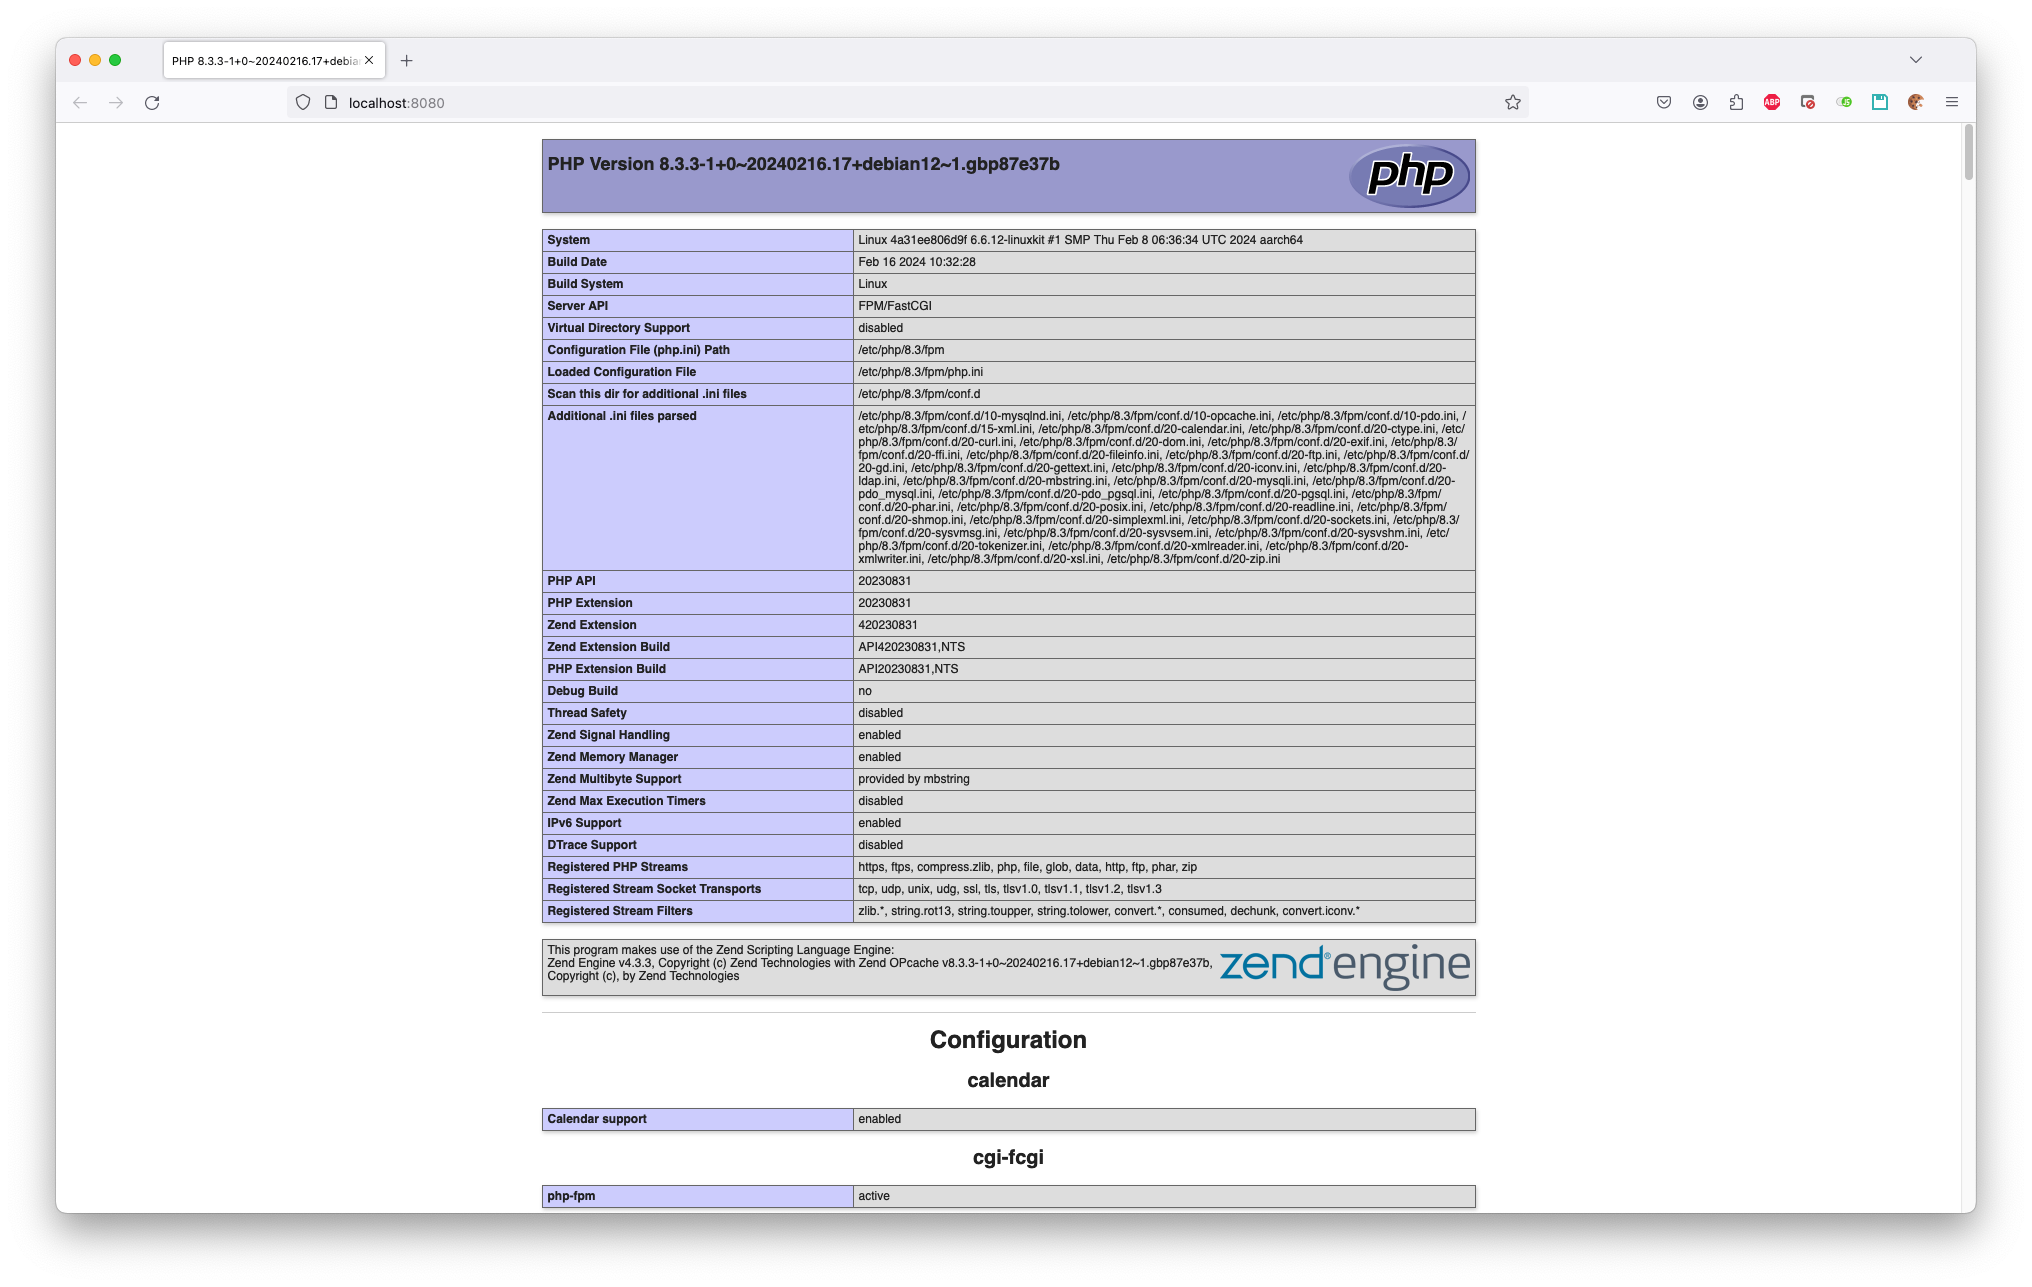
For the optional part, you can then modify the index.php located at /var/www/html to your liking with PHP stuff. In the screenshot below, I'm displaying what PHP version we've got installed.
Creating Containers Multiple Ways
So I had mentioned way earlier that there are multiple ways of creating containers. The way I showed earlier is just only 1 way. Another way would be to blatantly just create the container based off of the nginx image and then do all of the steps above in the container itself. To do something like that, you would just need to run the docker run command. Something like this.docker run --detach \
--hostname localhost \
--name localhost \
--restart always \
--privileged \
--publish 8080:80 \
nginx:1.25.2
The last option is to actually create a docker-compose.yml file and run that file using the docker-compose command. Here is a small snippet of how that would look like.
version: '1.0'

services:
    localhost:
        container_name: localhost
        user: root
        build:
            context: .
            dockerfile: Dockerfile
        ports:
            - 8080:80
        restart: always
        env_file:
            - ~/secure.env
docker-compose up -d
All and all, that's pretty much the scope of this blog article. Containers don't just have to be web apps. You can actually install anything that's Linux based and run with it. Could be a reporting utility that sends emails to you, could be a utility that uses strictly terminal based commands and runs tests or unit tests. Could be anything really. It's however you want to imagine what your container will do. Hopefully this is helpful for my fellow developers and any new upcoming developers out there!